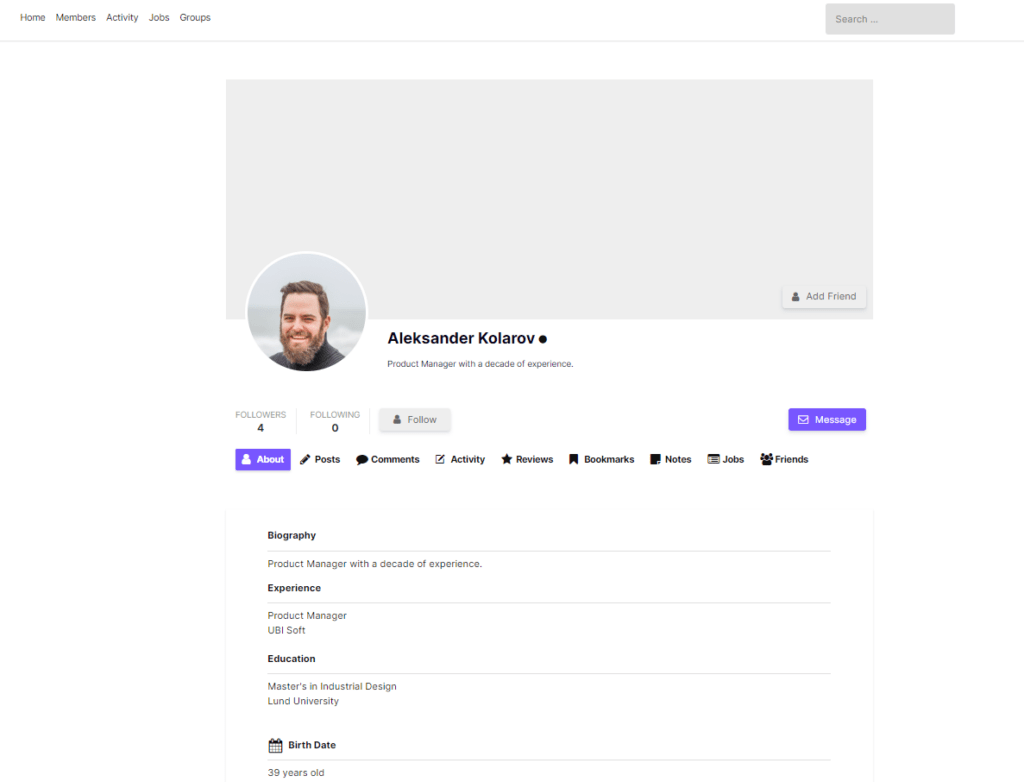
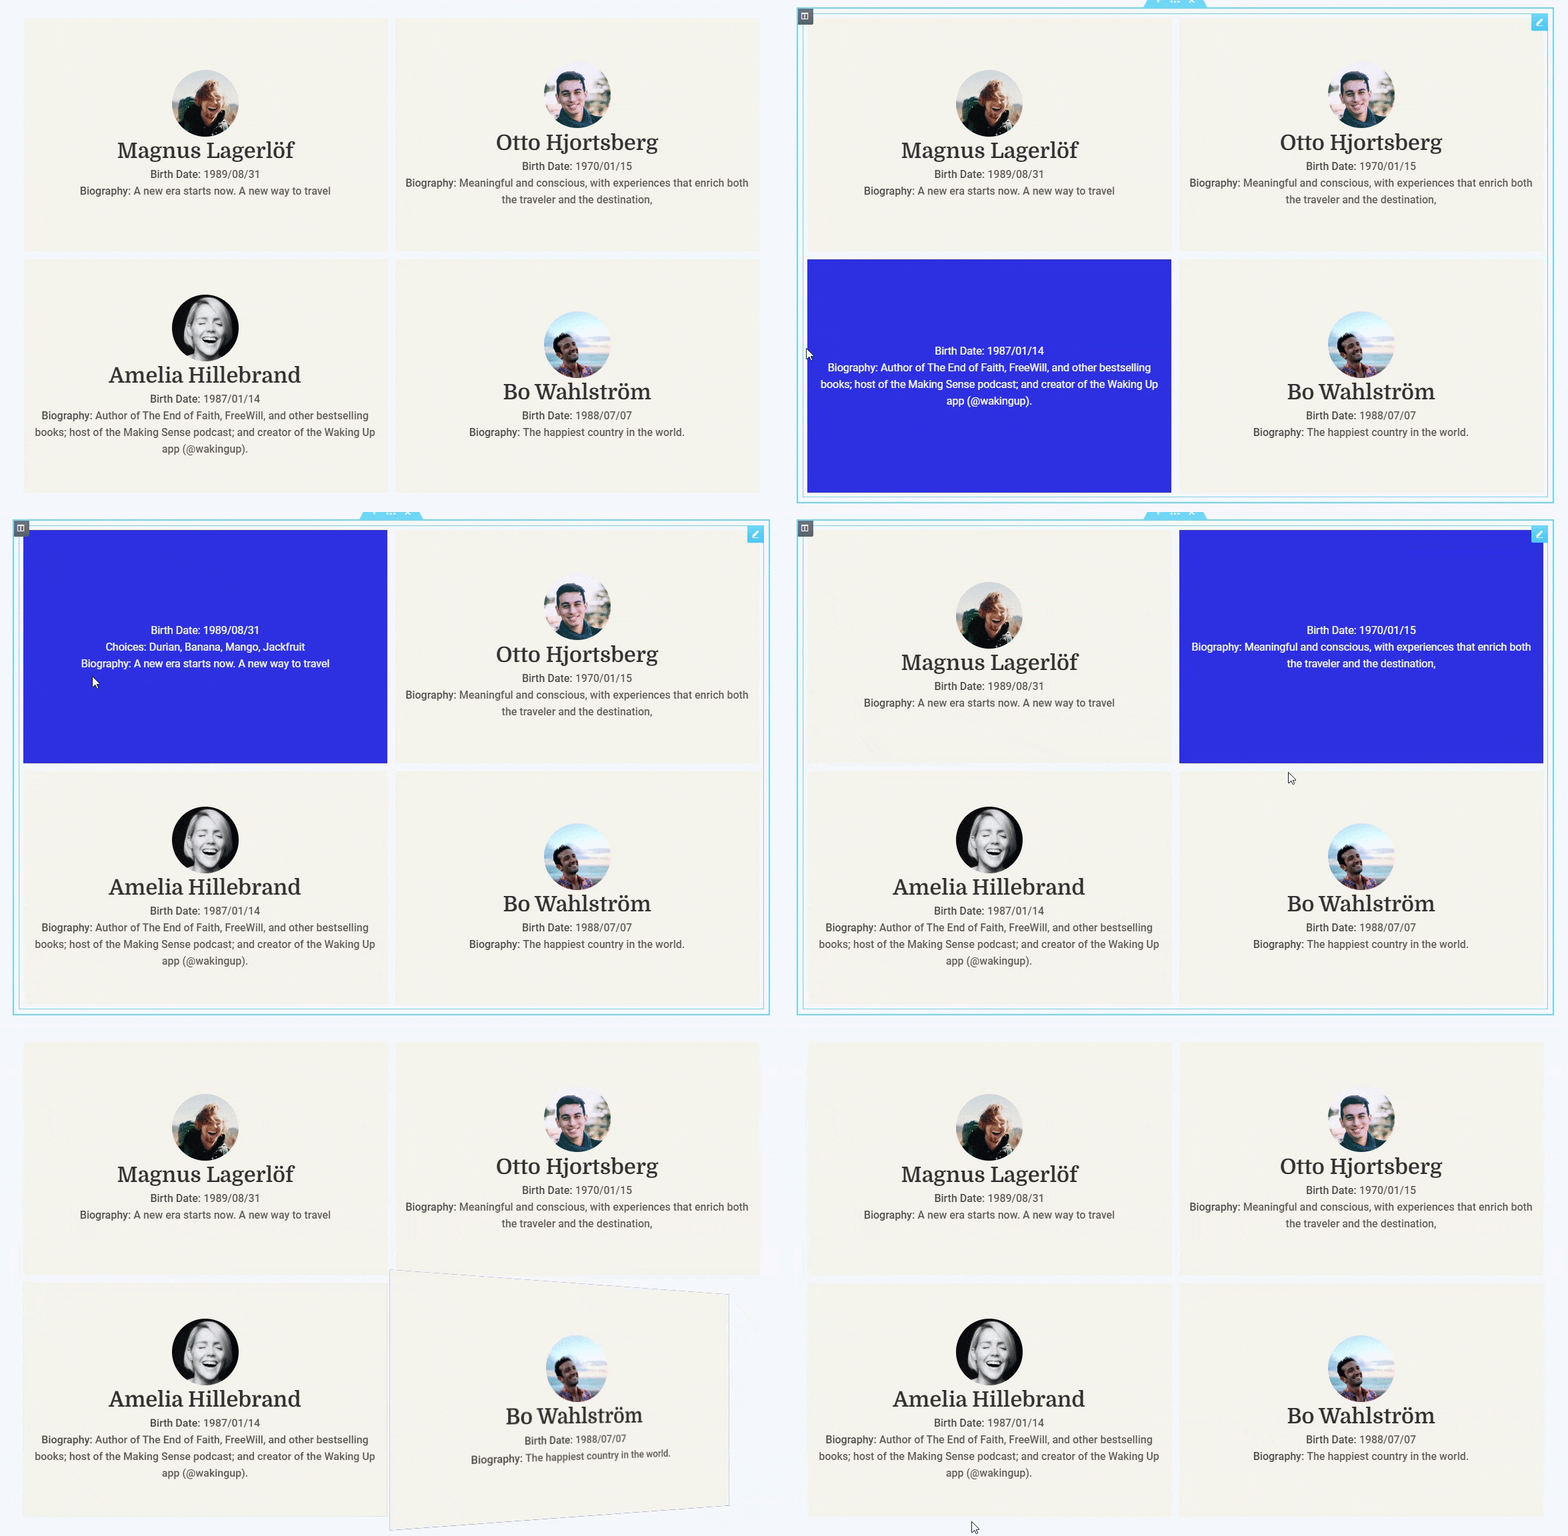
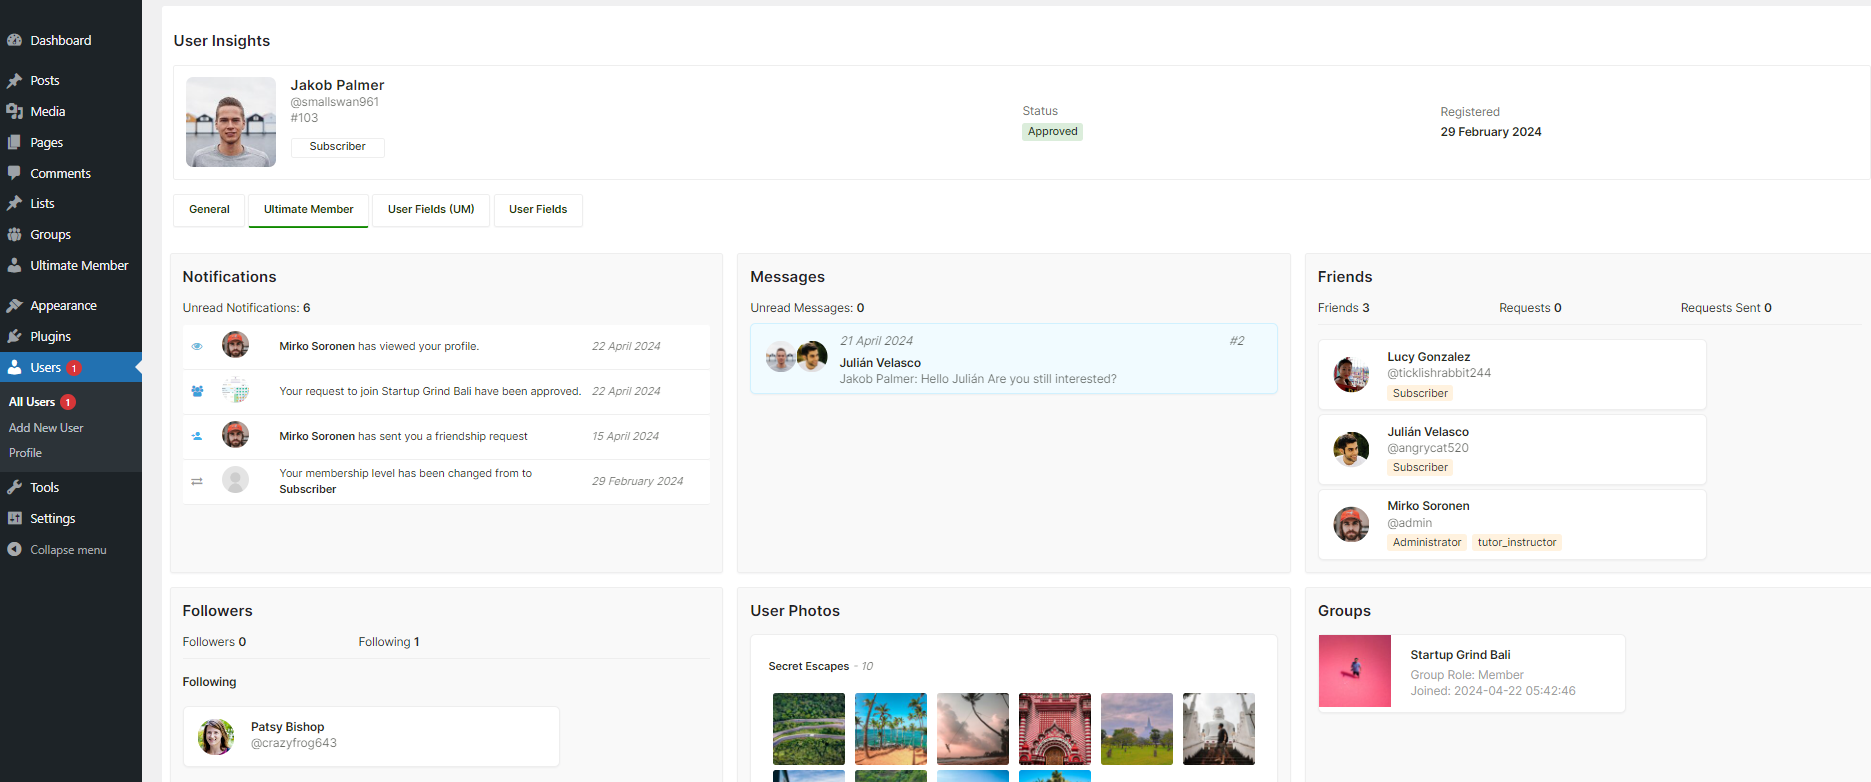
If you’re using Ultimate Member for your membership website, when users sign up, they are required to fill out specific form fields as determined by the website administrator. Later, once they’re approved, users can modify certain information like their name, country, and gender on their User Profile page.
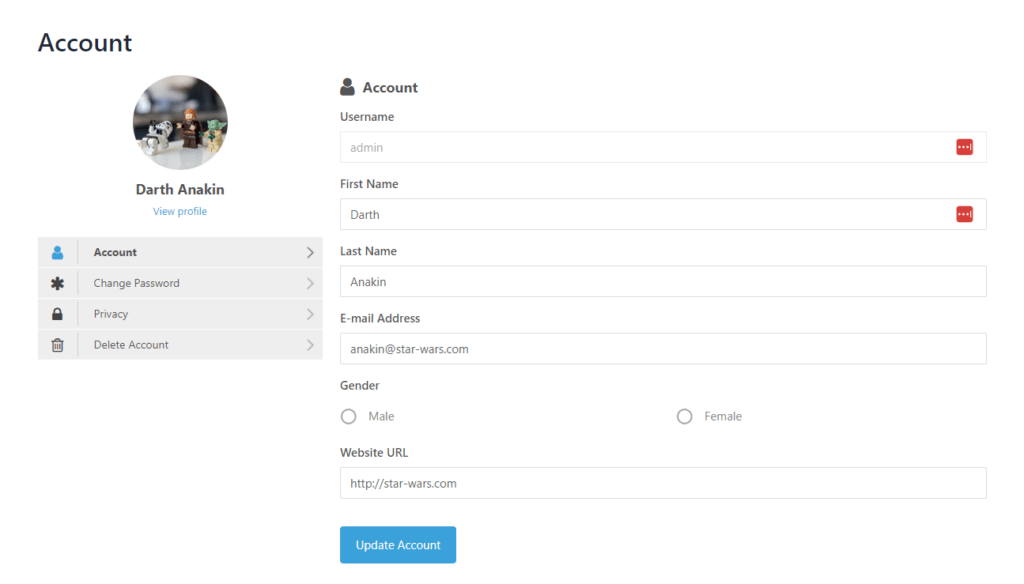
By default, on the Ultimate Member Account page, users can only edit their Username, First Name, Last Name, and Email Address. However, some website administrators may want their site users to update additional fields directly from the Account page. For instance, you might want your users to edit their Gender, Telephone number, and other details directly on the Account page, instead of going to the Profile page.
Here are the fields that members can view and edit in their accounts:
- Username
- First name
- Last Name
- E-mail Address
You can control which fields are displayed or hidden by adjusting Ultimate Member Account settings. Check out this article titled Account Tab for more information on how to do this.
While it’s generally recommended to edit custom fields from the Profile page, you do have the option to add editable fields to your Account page as well. To achieve this, you’ll need to make some customizations to the Ultimate Member code. Ultimate Member conveniently provides a um_account_tab_general_fields Hook, which allows you to easily add new fields or any other content to the tabs on the Account page.
Custom Fields to Ultimate Member Account Tab
Display What
- Existing User Fields (filled during the registration process)
- Editable fields
- Can be edited from Account page
Where
- Ultimate Member Account page
If you want to display and allow users to edit custom fields within their account page in Ultimate Member, you’ll need to follow these steps. Please note that this requires a bit of custom code.
Steps to follow to make fields visible and editable within their account page:
Step 1 – Decide Which Fields you want to display in Account Page
Begin by determining which custom fields you want to make visible and editable on the Account Tab. You can find the associated Meta Key for each field in the Ultimate Member Forms section.
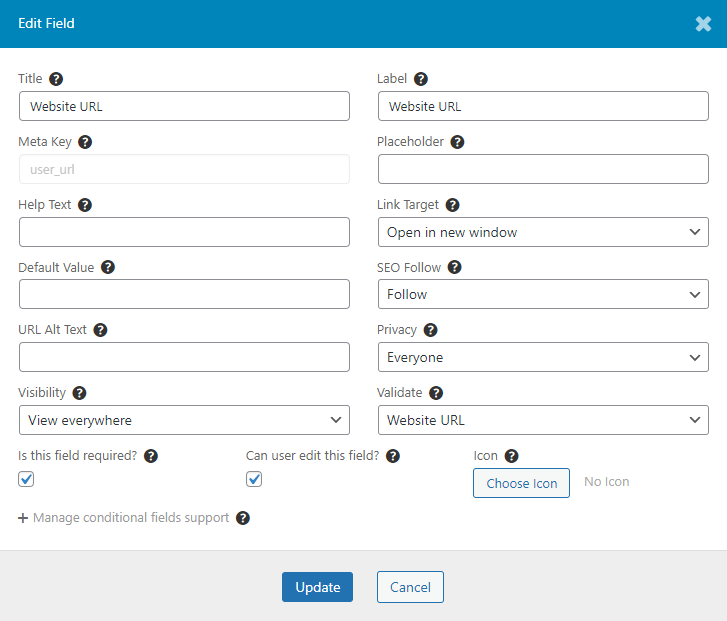
- Go to Ultimate Member > Forms
- Click on Edit below “Default Profile”
- Copy the “meta key” associated with the custom field you want to make visible and editable on the Account page.
Step 2 – Snippet to add editable fields to General Account Tab
Now, let’s add these fields to the Account Tab using a simple code snippet. Replace the user_url meta key with your desired meta key. You can add more than one meta key field here.
/**
 * Make it easy for users to see and edit additional fields on the main Account tab, right below the "E-mail Address" field.
 * To do this, follow these simple steps:
 * 1. Open the 'functions.php' file in your active theme directory.
 * 2. Add the following code to that file.
 */
function addCustomFieldsToAccountTab( $fieldsToShow, $additionalFields ) {

    // Specify which extra fields you want to display.
    $fieldsToShow .= ',gender'; // This adds a "User URL" field.
    $fieldsToShow .= ',user_url';     // This adds a "Band" field.

    return $fieldsToShow;
}

// Hook this function to your website.
add_filter( 'um_account_tab_general_fields', 'addCustomFieldsToAccountTab', 10, 2 );
Step 3 – Adding the Coding to your Website
You can either add it to your child theme’s functions.php file or opt for a user-friendly plugin such as Code Snippets to activate the custom code.
Add Profile Picture Upload Field on the account page
This code lets you to add Profile picture upload field to the Account Tab:
function addProfileFieldsToAccountTab( $fieldsToShow, $additionalFields ) {

    // Specify which extra fields you want to display.
    $fieldsToShow .= ',profile_photo'; // This adds a "User URL" field.

    return $fieldsToShow;
}

// Hook this function to your website.
add_filter( 'um_account_tab_general_fields', 'addProfileFieldsToAccountTab', 10, 2 );
Add Telephone field on the account page
This code lets you to add an editable “Telephone” field to the Account Tab:
/**
 * Make it easy for users to see and edit additional fields on the main Account tab, right below the "E-mail Address" field.
 * To do this, follow these simple steps:
 * 1. Open the 'functions.php' file in your active theme directory.
 * 2. Add the following code to that file.
 */
function addPhoneFieldsToAccountTab( $fieldsToShow, $additionalFields ) {

    // Specify which extra fields you want to display.
    $fieldsToShow .= ',phone_number'; // This adds a "User URL" field.
    $fieldsToShow .= ',mobile_number';     // This adds a "Band" field.

    return $fieldsToShow;
}

// Hook this function to your website.
add_filter( 'um_account_tab_general_fields', 'addPhoneFieldsToAccountTab', 10, 2 );
Add Biography field on the account page
This code lets you to add an editable “Biography” field to the Account Tab:
/**
 * Make it easy for users to see and edit additional fields on the main Account tab, right below the "E-mail Address" field.
 * To do this, follow these simple steps:
 * 1. Open the 'functions.php' file in your active theme directory.
 * 2. Add the following code to that file.
 */
function addBioFieldsToAccountTab( $fieldsToShow, $additionalFields ) {

    // Specify which extra fields you want to display.
    $fieldsToShow .= ',description'; // This adds a "User URL" field.
    return $fieldsToShow;
}

// Hook this function to your website.
add_filter( 'um_account_tab_general_fields', 'addBioFieldsToAccountTab', 10, 2 );
By following these code examples and replacing the field names with the ones you want to include, you can effectively customize the Account Tab to display and allow users to edit the additional information you desire.
Fields Not Saving Data
If user fields are not saving or updating correctly, disable the User Cache from the WordPress Dashboard under “Ultimate Member” > “Settings” > “Misc” > “Disable Cache User Profile.”

In conclusion, allowing customers to update custom fields in their Ultimate Member Account Tab can improve their overall experience on your membership website. You can give your users more control over their profiles and develop a more personalized and user-friendly platform by following the steps given in this guide and employing the provided code snippets.

